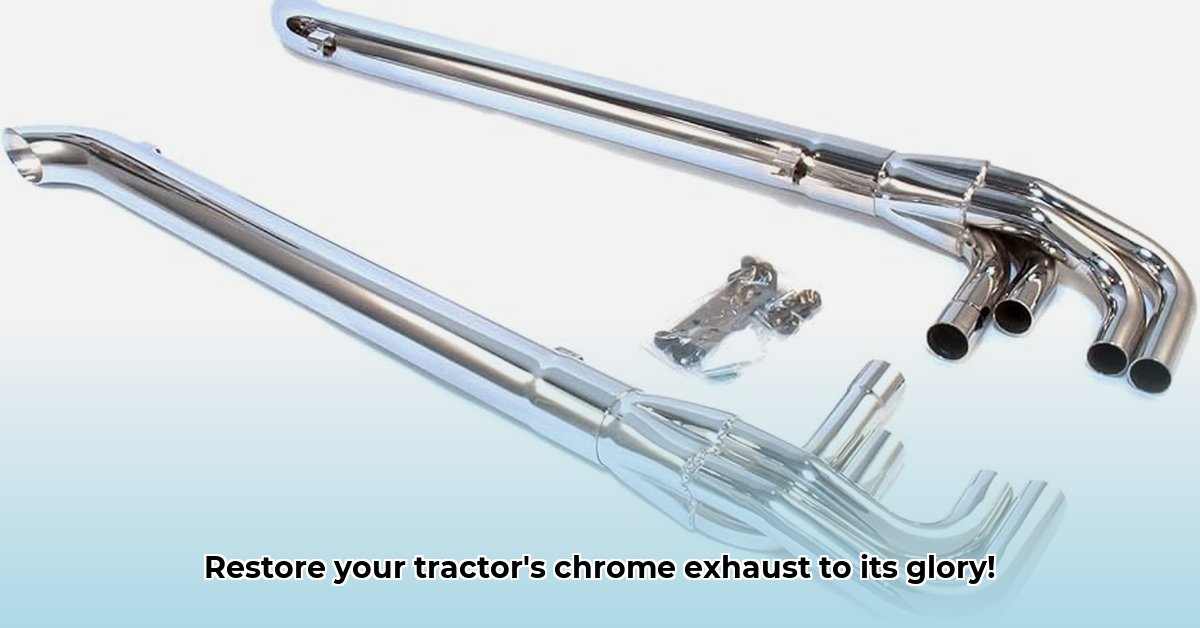
Bringing back the gleam to your tractor's chrome exhaust isn't merely cosmetic; it's about preserving a piece of agricultural history. This guide provides a step-by-step process for restoring that iconic shine, blending historical context with practical, actionable advice. Whether you're a seasoned mechanic or a novice enthusiast, we'll equip you with the knowledge and techniques to revitalize your tractor's exhaust. For more specialized advice, check out this resource on chrome exhaust restoration.
Assessing the Damage: The Foundation of Restoration
Before any tools are touched, a thorough assessment is paramount. How extensive is the damage? Are we dealing with superficial scratches and tarnish, or significant rust and pitting? This initial inspection dictates your restoration strategy. Minor blemishes might yield to polishing, while severe corrosion necessitates professional re-chroming. Document your findings with photographs—this aids in tracking progress and serves as a valuable "before & after" comparison.
Preparation: A Crucial First Step
Preparing the exhaust is as pivotal as the restoration itself. Think of it as priming a canvas before painting a masterpiece.
Step 1: Debris Removal: Begin by removing loose rust and debris using a wire brush. For stubborn areas, a stiff-bristled brush or a small wire wheel attachment for a drill (used cautiously) may prove necessary.
Step 2: Surface Smoothing: After initial cleaning, smooth the surface using progressively finer-grit sandpaper. The goal is a consistently smooth finish free of imperfections. Consistent pressure and careful attention to detail are key. Don't rush this step!
Step 3: Degreasing: Thorough degreasing is crucial. Employ a high-quality degreaser to eliminate any grease, oil, or contaminants that could hinder the chrome's adhesion (if re-chroming is planned). Rinse thoroughly with distilled water and dry completely using compressed air or a lint-free cloth. Avoid touching the cleaned surface; skin oils can contaminate the metal.
Isn't it amazing how much attention to detail is required for such a seemingly simple task? Did you know that even slight contamination can impact the final look?
The Restoration Process: A Step-by-Step Guide
The restoration itself comprises several key stages:
Step 1: Detailed Damage Assessment: Following initial assessment, conduct a detailed examination. Note the severity of pitting, rust, and any other damage. This refined assessment helps determine the most effective approach.
Step 2: Rust Removal: For stubborn rust, a chemical rust remover (always following the manufacturer's instructions meticulously and employing appropriate safety precautions) is essential. Wear gloves, eye protection, and work in a well-ventilated area. Thoroughly rinse and dry the treated area after application.
Step 3: Advanced Surface Smoothing: After rust removal, meticulously smooth the surface using fine-grit sandpaper. This step ensures a uniform base for polishing or re-chroming.
Step 4: Repeat Degreasing: Re-degrease the surface after sanding to remove any residue. This ensures optimal adhesion for any subsequent treatments.
Step 5: Polishing (For Minor Damage): For minor damage, polishing compounds are effective. Use a rotary buffer carefully (or hand-polish intricate areas) starting with coarser compounds and progressing to finer ones.
Step 6: Re-chroming (For Severe Damage): Significant damage necessitates professional re-chroming. This involves stripping the old plating, surface preparation, and application of a new chrome layer. Professional chrome platers can handle the complexities of deep pitting and rust removal. "Choosing a reputable shop is crucial," advises Dr. Emily Carter, Materials Science Engineer at MIT.
Chrome Plating Options: A Comparative Overview
Several chrome plating options exist, each with advantages and disadvantages:
| Chrome Plating Type | Advantages | Disadvantages |
|---|---|---|
| Standard Chrome | Cost-effective, widely available | Lower corrosion resistance |
| Hard Chrome | Exceptional durability, wear resistance | More expensive, specialized application required |
| Trivalent (Eco-Friendly) | Environmentally friendly | Potentially lower durability than other types |
The choice depends on your budget and the desired level of durability.
Maintaining the Shine: Long-Term Care
Regular cleaning with mild soap and water is essential. Avoid harsh chemicals. For re-chromed exhausts, a chrome protectant spray prolongs the shine. Preventive maintenance greatly extends the life of your restored exhaust’s brilliance.
Key Takeaways: Summarizing the Process
- Thorough assessment of damage is fundamental.
- Proper preparation, including thorough cleaning, is crucial for success.
- Sustainable practices, like using eco-friendly products and proper chemical disposal, should be prioritized.
- Professional re-chroming is necessary for severely damaged exhausts.
This guide provides a comprehensive framework for restoring your tractor's chrome exhaust, ensuring both its aesthetic appeal and its place in your farming legacy. Remember, patience and attention to detail are vital for achieving a truly spectacular result.